Build Image with EC2 Image Builder Components | Personal Blog
I was sitting in my office, staring at my computer screen. I had been working on the same project for hours and I just couldn’t seem to get it right. I needed a break. I got up from my chair and walked over to the window. The sun was setting, and the sky was ablaze with colours. I stood there for a while, just taking it all in.
Table of Contents
Get Yours Today
Discover our wide range of products designed for IT professionals. From stylish t-shirts to cutting-edge tech gadgets, we've got you covered.
I was sitting in my office, staring at my computer screen. I had been working on the same project for hours and I just couldn’t seem to get it right. I needed a break. I got up from my chair and walked over to the window. The sun was setting, and the sky was ablaze with colours. I stood there for a while, just taking it all in.
Suddenly, an idea popped into my head. I could use the image builder components from EC2 to create a custom image for my blog. I quickly got to work, creating a new Amazon Machine Image (AMI) with the image builder components. After a few minutes, I created a new AMI that included all of the necessary components.
I uploaded the AMI to Amazon EC2 and launched an instance using it. After a few minutes, the instance was up and running. I logged in and started working on my blog post. Within minutes, I created a beautiful new post with an amazing header image that perfectly matched my blog’s theme.
Now let’s learn how you can create an EC2 AMI or Docker Image using the Image Builder.
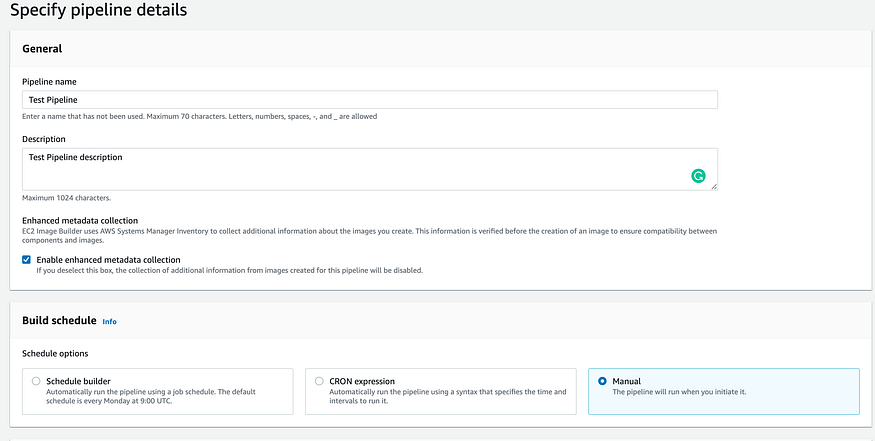
Step 01: Create an Image Pipeline
Enter all the required fields and select the Build Schedule as Manual for this lesson.
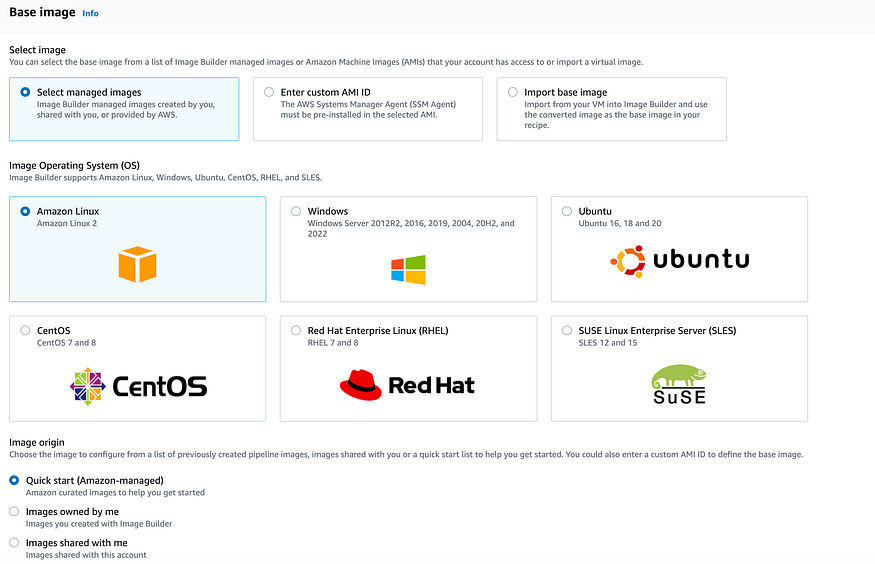
Step 02: Choose the Recipe Details as per your requirement.
I will create a new recipe and choose the Image Type as AMI

For now, I will choose the Amazon Linux 2
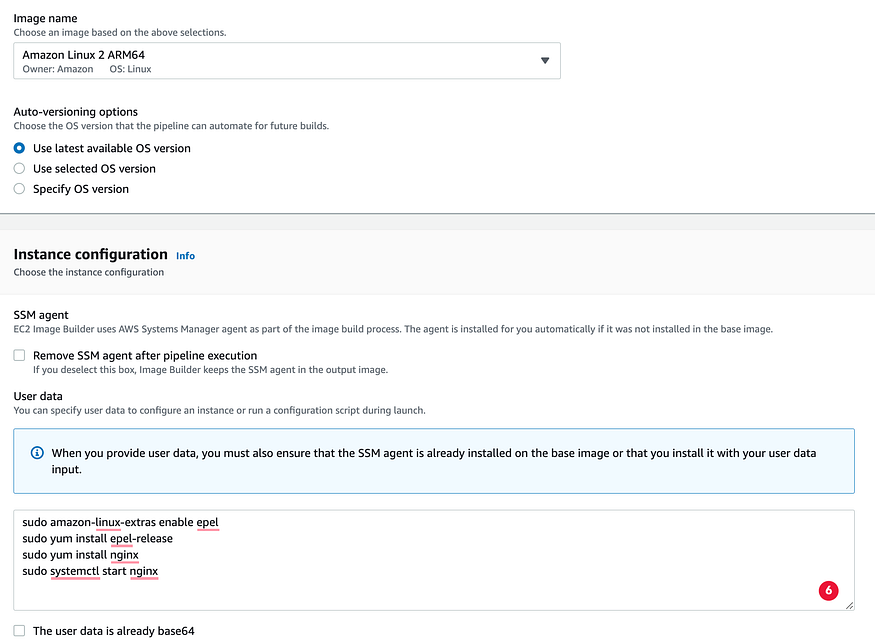
Enter User Data to install nginx webserver
sudo amazon-linux-extras enable epel
sudo yum install epel-release
sudo yum install nginx
sudo systemctl start nginx
Install Components
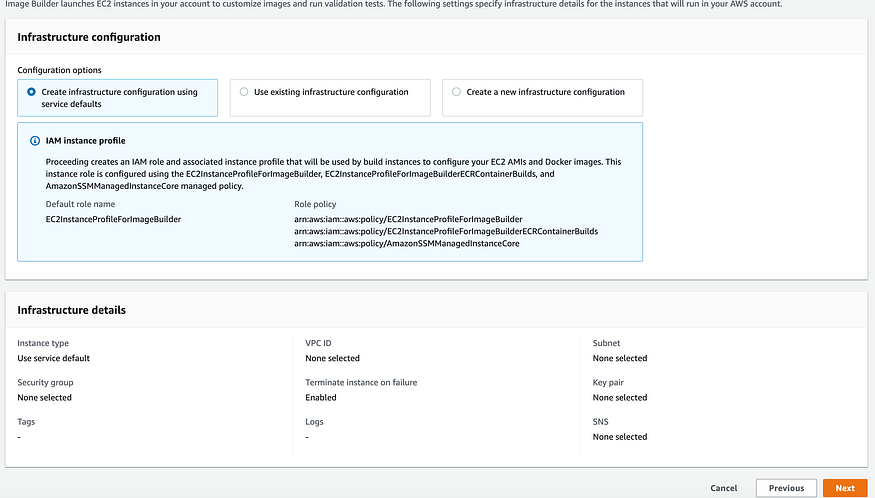
 Step 03: Define infrastructure configuration
Step 04: Go to the next phase and create a Pipeline
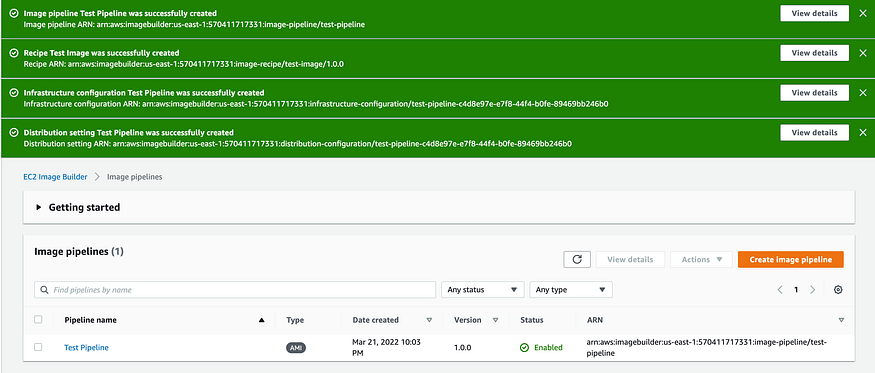
Step 05: Run the pipeline


Step 06: Now, again, go back to the ‘Image pipelines’ page, and click your pipeline.


